SYLKE® Skin Closure should only be used on clean, dry wounds when the skin edges of the wound are easily approximated without tension. Examine environment where SYLKE® Skin Closure will be handled and applied and ensure the absence of visible dirt or contaminants.
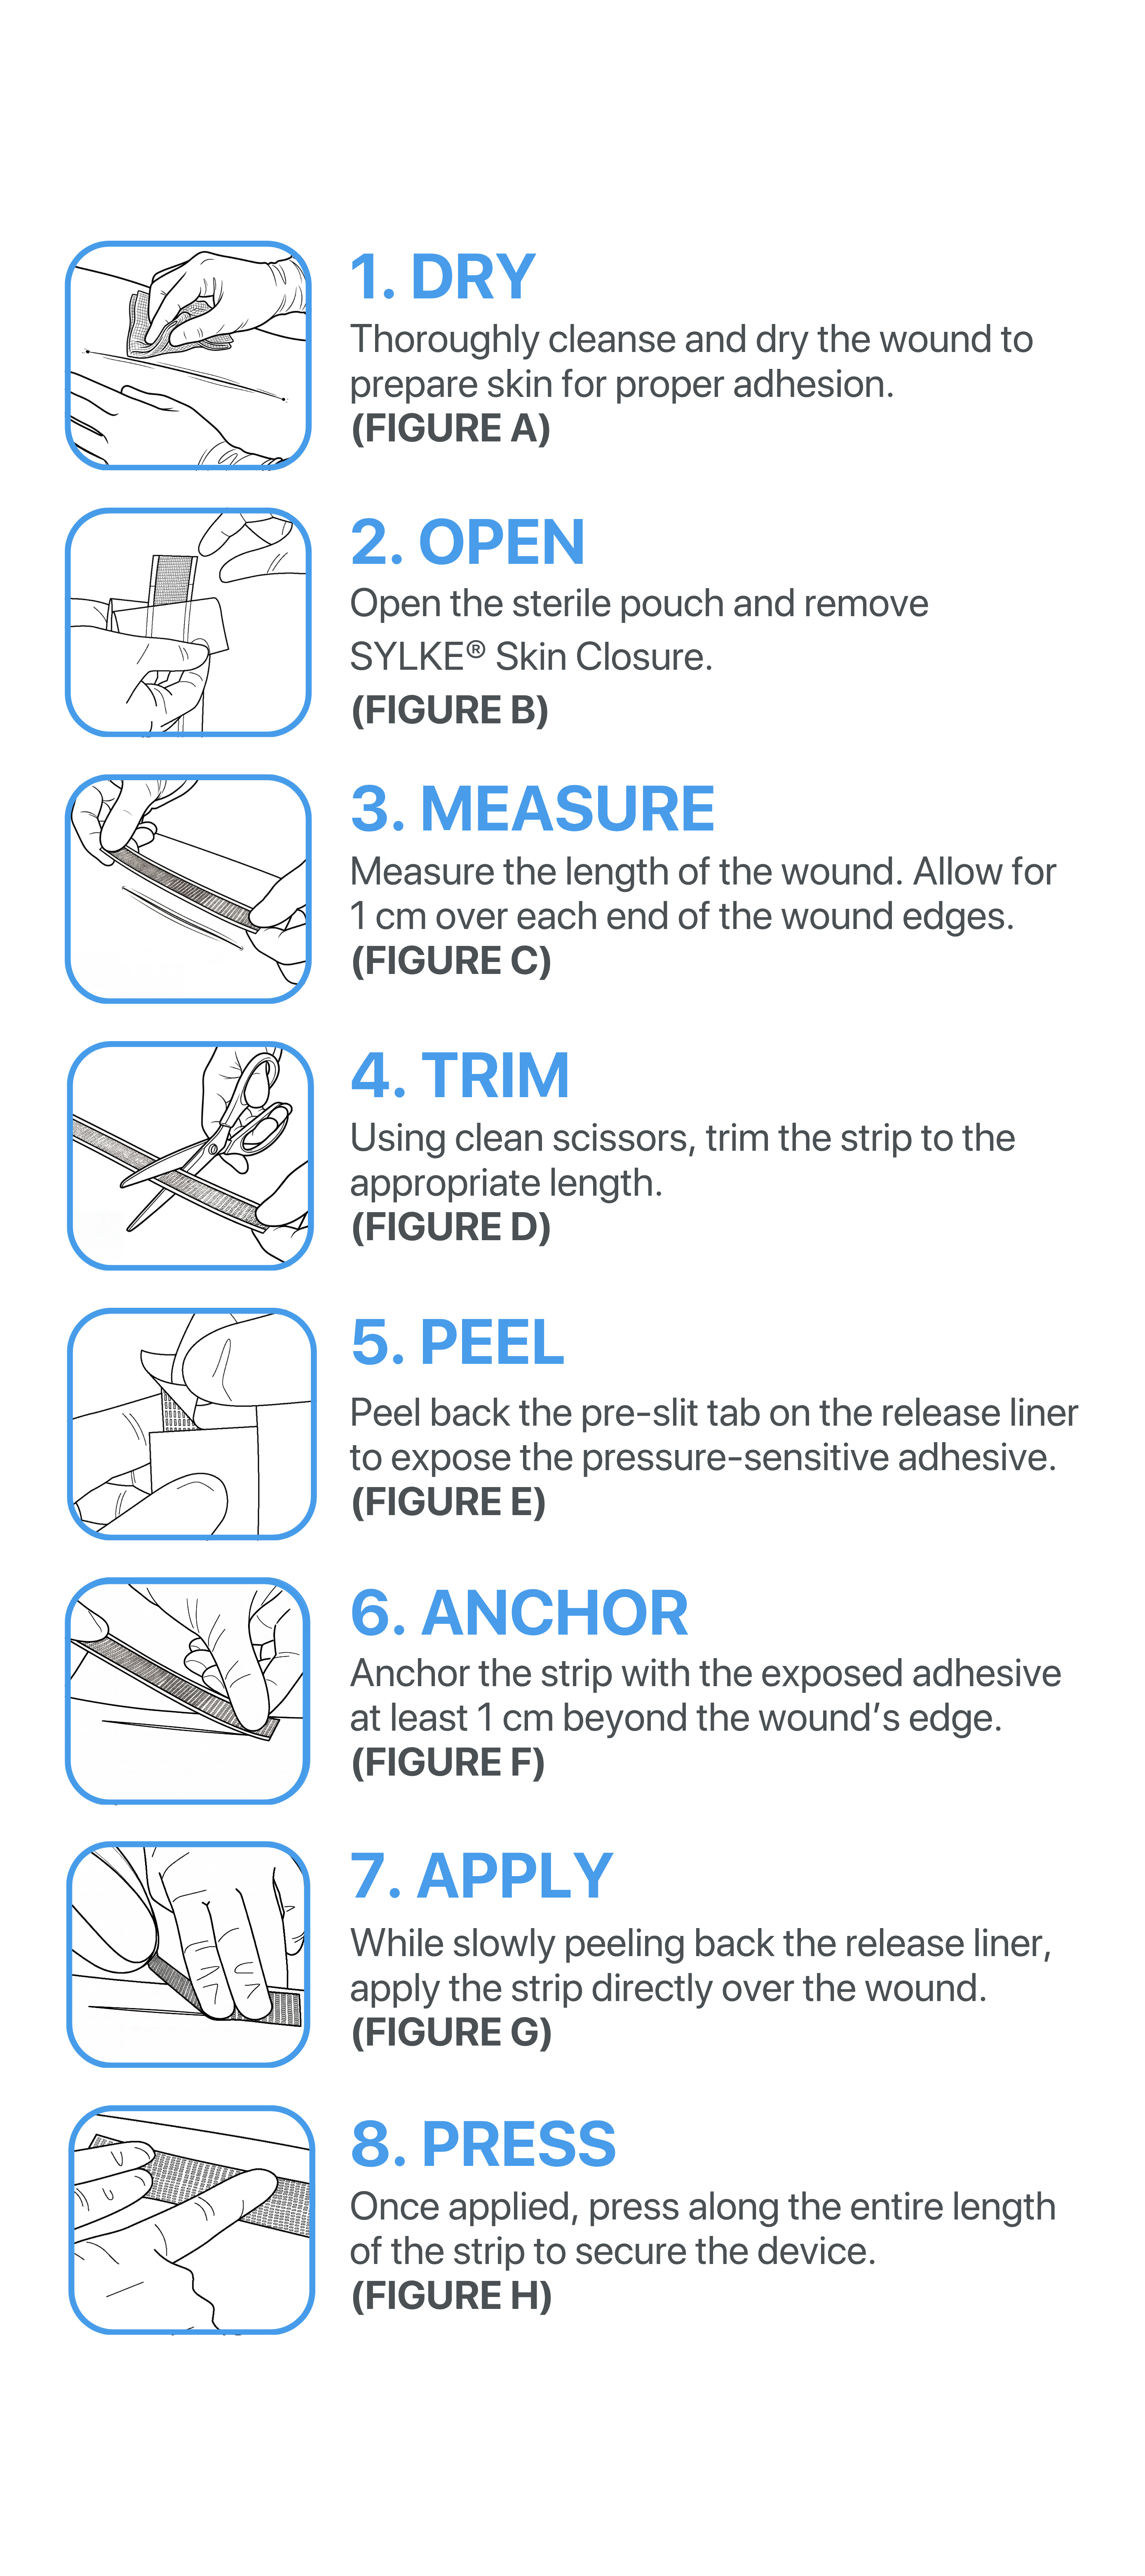
Step 1. Thoroughly cleanse and dry wound to prepare skin for proper adhesion of SYLKE® Skin Closure to the wound edges. (FIGURE A)
Step 2. Open sterile pouch. Remove SYLKE® Skin Closure strip from pouch. (FIGURE B)
Step 3. With the release liner still in place, hold the strip alongside the wound to measure the required length.The strip should extend at least 1 cm beyond each end of the wound. (FIGURE C)
Step 4. Using clean scissors, trim the strip to the appropriate length. (FIGURE D)
Step 5. Hold the strip and peel back the pre-slit tab to expose the adhesive. (FIGURE E)
Step 6. Place the exposed adhesive section on the skin at least 1 cm beyond one end of the wound. Press firmly to anchor the strip to the skin. (FIGURE F)
Step 7. While holding the anchored end in place, slowly peel away the release liner and press the adhesive strip along the length of the wound. The strip should extend at least 1 cm beyond the opposite end of the wound. If the wound length exceeds the length of a single strip, repeat previous steps with additional devices. (FIGURE G)
Step 8. Press firmly along the entire length of the strip to secure. Check that all edges are flat against the skin and no sections are lifted. Proper adhesion is achieved by applying pressure evenly across the strip. (FIGURE H)